Have you ever struggled to create an interview guide? Don’t worry, you’re in good company – all designers struggled with that, especially at the beginning of their career.
That’s why we’ve taken years of experience and all the best practices, and distilled them into a simple step by step process.
Why do you need an interview guide?
If you want to do user interviews, you should always have an interview guide on hand. It will serve several purposes:
- Make sure that you don’t “blank out” during the interview instead of asking questions
- Ensure that your questions are not random but considered, and eliminate leading questions
- Have a list of prompts on hand to help you probe further
- Ensure you ask the same questions of all your participants
- When working as a part of a team of designers, ensure everyone is asking the same questions. If all designers ask different questions, it will be difficult during analysis stage of the project.
- When working with client, interview guide will help you make the client and stakeholders more comfortable with the process, especially if they’ve never done interviews before.
So how do you create an interview guide?
First, decide on the goals of the interview
Many students and junior designer get stuck when trying to create an interview guide because they don’t have a clear goal. Usually it’s because their manager or their teachers tells them to create one, so when they come to us for advice, they ask how they can create one for things such as:
- App for shopping for stay at home mothers
- News website for millennials
- App for project management for office workers
To make it clear, the above are not problems, they are solutions. When you’re preparing for interviews, most of the time it’s because you want to explore the problem space. That means, you have to start with a problem, not with a solution. It’s always great if you have a problem statement.
The interview goals stem from the question “What do you want to know?” in order to understand the problem and your audience better, so that ultimately, you can solve the problem.
For example, if the problem you’re working on is “there is too much plastic that goes to landfill as a result of grocery shopping”, then you might want to know the following:
- Understand how people buy groceries – their actions, processes, and thoughts
- Understand if people care about plastic waste as a result of their shopping, and their feelings towards sustainability practices.
And now you have the goals for the interview which will serve as a great foundation for creating your questions!
When you know the goals, work on interview questions
Creating interview questions is a lot like writing a book, in a sense that you shouldn’t be trying to write final copy from the start.
To make it much easier, you should follow a process in which you will have multiple drafts, and iterate the copy until you arrive at the final questions. With practice, this process will become shorter and quicker, but to begin with you should follow it. That way you will learn the right way of doing things, and your interviews will be a breeze!
Step 1: brain dump
To begin with, just do a brain dump of all the questions you’d like to have the answers to, without trying to edit them in the process. If we continue with the example of the problem above, your brain dump might look something like:
- Who does the shopping? In couples, is it one partner or both? In families, is it parents or adult children or mix?
- How do people choose what to buy? I.e. prices/brand/convenience/something else?
- Does the process differ each time or is there a routine?
- How do they shop? Online or in person?
- Which shops do they go to and why?
- Do people care about the packaging of their groceries? In what way?
- Does it affect their purchasing choice?
- Etc.
As you can see, the questions above are very leading and we don’t want to ask them in the interview. But that’s ok – this was just draft one, and we will edit them later. If you’re not sure, look back on the goals for the interview, and that should give you ideas about what you’d need to find out to proceed with the project.
Also, feel free to write as many questions here as you want, the above is a very short list, usually you will have many more in your first draft.
Step 2: sorting questions
Now that you have many questions, it’s time to sort them. The way we like to do it is put relevant or similar questions next to each other, so you may end up with something like this:
- Where people shop:
- Who does the shopping? In couples, is it one partner or both? In families, is it parents or adult children or mix?
- Does the process differ each time or is there a routine?
- How do they shop? Online or in person?
- Which shops do they go to and why?
- Information about items they choose:
- How do people choose what to buy? I.e. prices/brand/convenience/something else?
- Do people care about the packaging of their groceries? In what way?
- Does it affect their purchasing choice?
Step 3: editing questions
Fantastic, now that you have your rough questions and topics, you can start editing the questions.
Remember that we always want to go from more general and open-ended questions to more specific, it’s the whole diverge/converge principle of design in action.
On top of that, we don’t want to lead participants, so we don’t want to give them options (the options in the questions we had so far are just for us, we are not going to give them to participant).
That means that we will have one “topic” question and several follow up questions that we can use.
So our next draft of questions might look something like:
Where people shop:
- Can you tell me how you do grocery shopping?
- Where do you usually shop/you mentioned you shop at X. Is that the only place where you buy groceries? (follow up question)
- Is it always the same? (follow up question)
Information about the items they choose:
- How do you decide what items to buy?
- Why? (follow up question)
- Are there any other factors that affect your choice? (follow up question)
You would have many more questions to edit, but this should be enough to give you an idea. Here’s a great video that explains how to create great questions for your interview.
Add prompts to your user interview guide
When you get comfortable and used to user interviews, you may not need prompts. But when you’re new to the interviews, we strongly recommend to write different prompts in your guide as well – they will help you to prompt the participant for more information in a non-leading way. Usually the prompts are similar to the below:
- Why?
- How come?
- Tell me more about that?
- What did you mean by…?
- For my understanding, can you explain…?
- You mentioned… Can you tell me more about that?
- Can you explain the reason or value of…?
- What are you trying to achieve when you…?
- I noticed you *rolled your eyes/laughed/frowned/non-verbal cue*. Can you tell me why?
You can add them to specific questions that you think may need more prompting or will have more depth, but you can also include them all together on one page to make it easier.
Write a great introduction
Only when you have your questions sorted, can you write an introduction.
Introduction will include things that will be similar for all interviews you do, but you should still invest your time in crafting a great introduction – it will set the tone for the rest of your interview. Make sure that you include:
- Greeting – how you greet the participant
- Thanking the participant for taking the time to do the interview
- Who you are and why you’re in this interview
- Other people (if present) and why they are in the interview
- A brief overview of the project – you need to give enough context so that participant is comfortable and understands the scope of the session, but not so much as to influence their responses later on. This part needs to be very considered!
- Remind them that the session will be recorded and why (just for note-taking purposes, it’s not going to be shared outside of the team, will never be on social media etc.)
- Ask them if they have any questions for you.
Write a great conclusion
Once your introduction is done, you can create your conclusion. This is mostly the same things that you’ve told them in introduction, so writing it is very easy. Make sure that you:
- Thank the participant for their time and information, tell them how useful it is to you and your team.
- Remind them that the session has been recorded, but that it’s only for note-taking purposes and that you won’t share it outside of the project team.
- Explain what the next steps are – are you interviewing more people? Are you going to start incorporating their insights into the project?
- If you want to talk to them again, ask them if you can get in touch in the future if you have more questions.
- Tell them that they can always get in touch with you or the team if they think of anything else or if they have questions.
- Ask them if they have questions.
- If the participant was promised a reward, you can give it to them or tell them how and when they will be receiving it.
- Ask them if they have any questions.
Lastly, make the transitions between sections in the user interview guide smooth.
You’re almost done! You have the guide, which includes the introduction, the questions, follow-up questions, prompts, and conclusion. But if you read through it, you might notice that there are a few awkward bits – and these are the points of transition from one section to the next.
You don’t want them to be awkward though – you want the conversation with the participant to flow as smoothly as possible, so as a last step, you should create these smooth transitions.
Gap between intro and questions
The first awkward point is between the introduction and your first question. If you go straight for the main questions, this will be awkward to the participant. So many great designers and researchers create a transitional question – a way to bridge the two parts of the session. Usually it’s a very open and easy question that the participant knows the answer to, and you may already know the answer too as well. Because it’s an “easy” question, it helps build confidence in the participant, so they feel less nervous during the session. Think of questions such as:
- Tell me about yourself
- Tell me about your role in the company X
- Tell me about what a typical day looks like for you, and is there such a thing as a typical day for you?
Whatever question you decide to ask, make sure it’s relevant to the project you’re working on. It shouldn’t feel random – it should serve as a foundation for all the other questions to follow.
Gap between questions and conclusion
The next awkward bit is between the questions and the conclusion. If you run out of questions to ask and them jump straight into thanking the participant for their time, it will be weird. So that’s another “transitional point”.
It is a simple one to solve, most of the time you will hear designers say something like “Thank you so much, I don’t have any other questions for you, but is there anything that we haven’t talked about that you think is relevant?”
So what now?
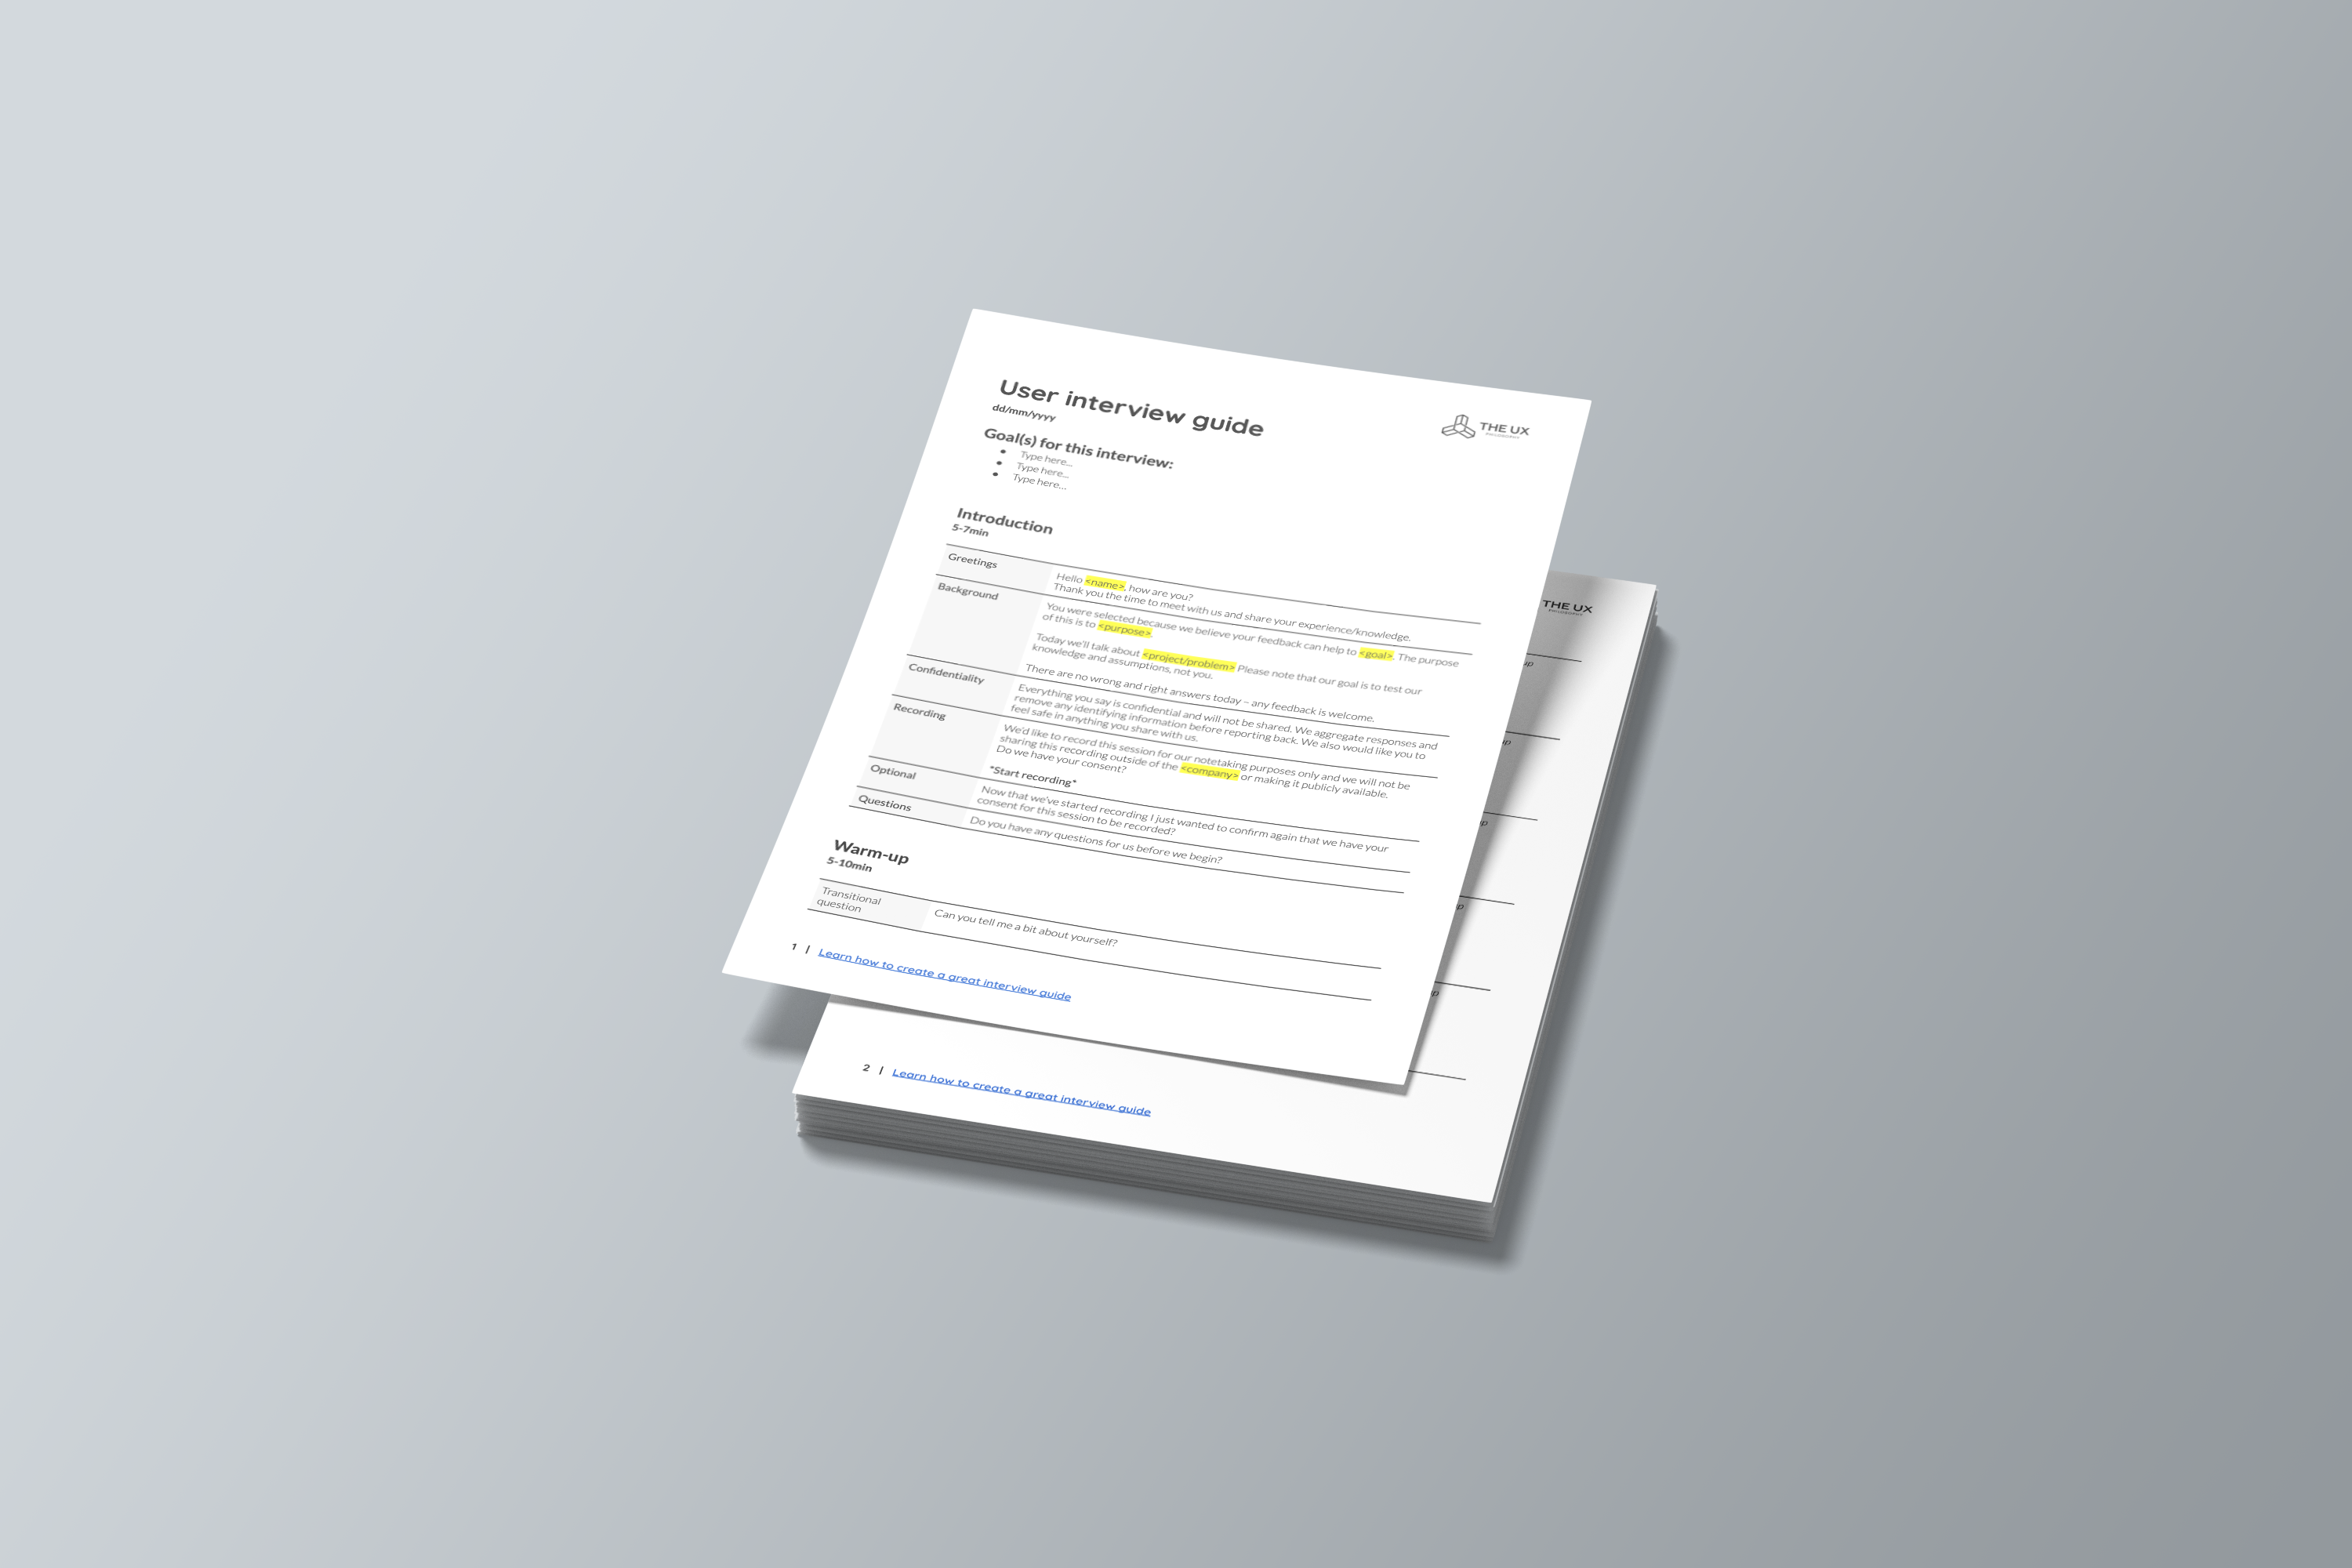
Now you need to go and create the guide for your project! To make it even easier, we’ve created a basic template, but you will need to follow the steps above to make the content within great.
Don’t forget to share the article – let’s make sure that designers ask fantastic questions in their interviews!
Practice with real clients
If you’d love to practice creating user interview guides and conducting interviews with real clients, consider joining our UX Pathfinder course. It’s a great part-time course that only takes 8 weeks, and you will work with other UXers on real client projects!
And because the classes are conducted via Zoom, you will always have an experienced designer guiding you and helping you on your journey.